
Let's name her Dugong!
Short, stubby and just a bit "a face only a mother could love" look... the Whisky16 (designed by Nigel Foster) is not a pretty kayak in a traditional sense.
Dugong seemed an appropriate name for Petra's new kayak.
While looks are often deceiving, this kayak fits Petra very well and being very maneuverable spurs confidence in rough water.
The inspiration for the name came from the previous day's event where Petra and I were kayak-sailing back from my favorite play spot. A dugong suddenly surfaced too close to my kayak and looked at me with spooked eyes: I don't know who got the bigger fright, me or the dugong.
Then he quickly dived, his tail flew inches away from my face wetting me completely while I ducked my head avoiding the slap as he desperately tried to miss my kayak.
That evening a sail was hastily mounted to the Whisky16's deck as next day's forecast was promising conditions for a pseudo tidal race: wind against ebbing tide.
With the new SeaDog sail mounted up front Dugong really brings smiles
click on image above to play video
Edging and rolling the Whisky16 seemed easier than the borrowed kayaks: a good fit where one can brace without having to splay the legs too far could be the reason.
The keyhole cockpit where the legs can be kept relatively close together, allowing some wiggle room but still offering a solid wide area of contact, is probably a better solution than the diminutive thigh braces wings I see in most kayak cockpits.
So far the two kayaks that I own with such keyhole cockpits are way more comfortable than the other system I have tried.
The rear deck is not particularly low in the Whisky16 however layback rolls are still reasonably easy since the seat is not jammed right against the rear of the cockpit rim.
For once the seat is not shaped as a racing short-pan paddler crunched-over design: a lower front lip allows for more relaxed seating.
My experience with short seat that have a higher front has not been positive as I often end up with "dead legs". A flatter pan and longer seating area is key for longer paddles where my thighs don't suffer from blood circulation cut off.
Petra, while being the exact opposite of my bio-metrics, seems to agree: she dislikes short peaked seats and loves the flatter pan. The seat of the Whisky16 is here to stay.
The front deck however has already been modified to accept a sail and place it at closer reach. Details here.
24 February 2015
12 February 2015
Photo: walking on the beach
A walk on the beach helps me to focus on what matters in life.
Even more rewarding if remote and later in the day.
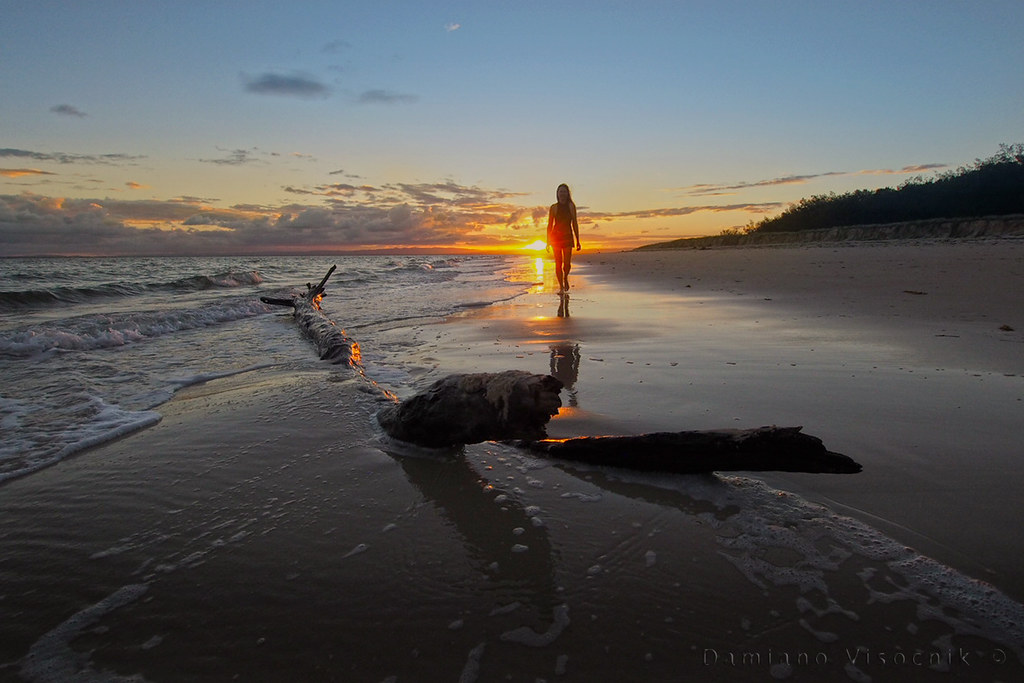
Barefoot, at water's edge, the sun close to the horizon.
.
Even more rewarding if remote and later in the day.
Barefoot, at water's edge, the sun close to the horizon.
.
03 February 2015
SHOP: filling-in the compass recess
.
Mounting a sail on a sea kayak requires a few considerations: position and deck strength.
On the newly acquired Whisky16 the front hatch is positioned surprisingly way far forward.
In front of that there is a deck-mounted compass recess.
The previous owner of that kayak had a small sail mounted there and I used the existing holes to mount mine.
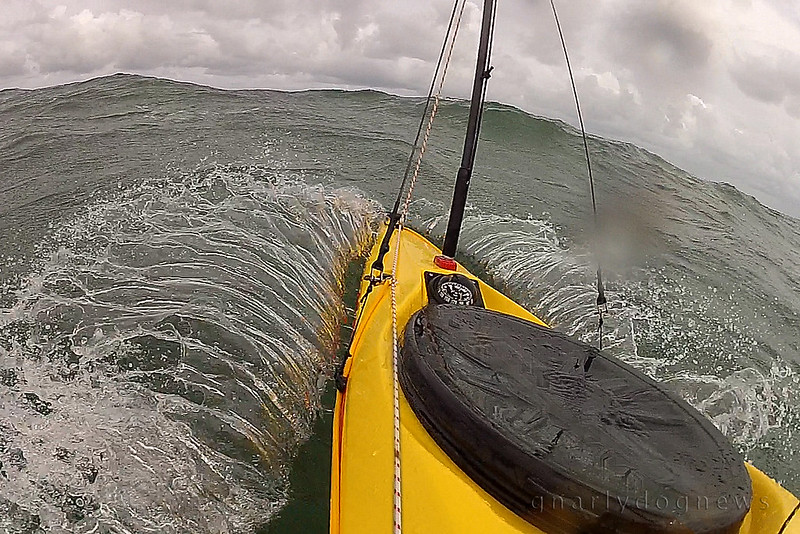
first run with the Whisky16
A test run revealed that the sail worked well on the Whisky16 but the reach was a bit too far for grabbing the sail and stow it on deck, securing it.
Most other sailing buddies use a 3 stay set up ending with a rather long mast.
I see their stowed sails going past the front of the cockpit ending with a sail mast half way across the spray deck. I prefer to have mine clear off my deck so I do not rub it with my hands when paddling.
The Whisky16 however has the sail mounting spot just a bit too far out or reach for the sail to fit nicely on deck. As I use my sails on several kayak I need to have them fit all decks well, with the same stay lengths.
I could increase the size of the mast and bring the sail higher (and make an ill-fit on other kayaks), but I prefer to keep the sail as low as possible and minimize the heeling force of a beam wind exerted on the sail.
The compass was not really needed on that kayak so I removed it and decided to utilize that space to mount the sail closer.
I wanted to fill the void left (recess on the deck) and create a solid base for the mast fitting.
I could have used a simple block of wood somehow attached to the deck but I knew I could do better.
I shaped a block of foam (polystyrene) to fit a bit loose within the cavity of the recess. Shaping the foam was easy: a bit of coarse sandpaper on a cork block.
Once the foam was shaped I placed kitchen cling wrap (Glad® wrap) over the deck and wetted out some fiberglass with epoxy. I draped the block of foam (under side) and pressed it into the cavity.
Once cured (overnight) I removed the excess and trimmed the glass.
The finish was really rough; maybe I could have used wax and mold release to have a perfect fit but nobody was going to see that part.
The top was done similarly.
I carved out foam from the area where the screws for the fitting would go for my mast base and filled it with epoxy glue (mix of epoxy and microfiber). While wet I then used a few layers of glass for the top and a scrap of carbon fibre for where the main load would be.
Polystyrene foam compresses easily when spot loaded so I needed a sturdy surface.
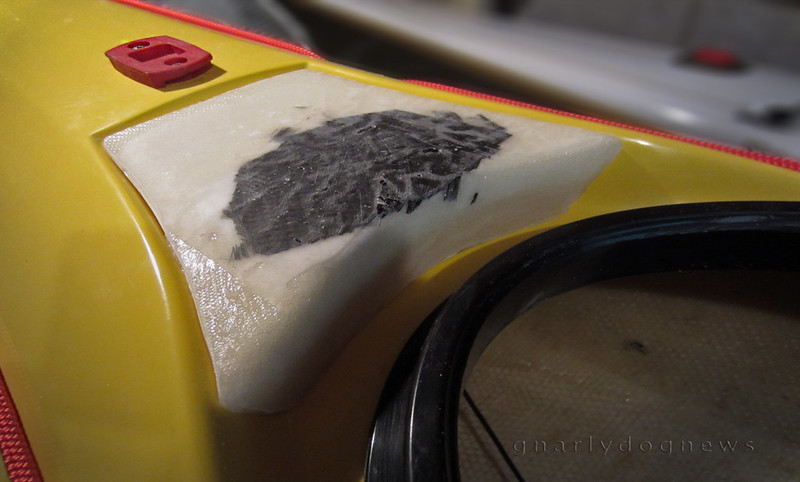
the "black patch" is carbon fibre cloth over the carved-out foam filled with epoxy glue.
The next step was to clean and cut back the edges a bit leaving a bit of a gap between foam block and kayak deck. I filled that with epoxy glue again to create a hard edge and seal the two surface together creating a monocoque style item. Of course I waxed and prepped the kayak deck so epoxy would not stick to it...
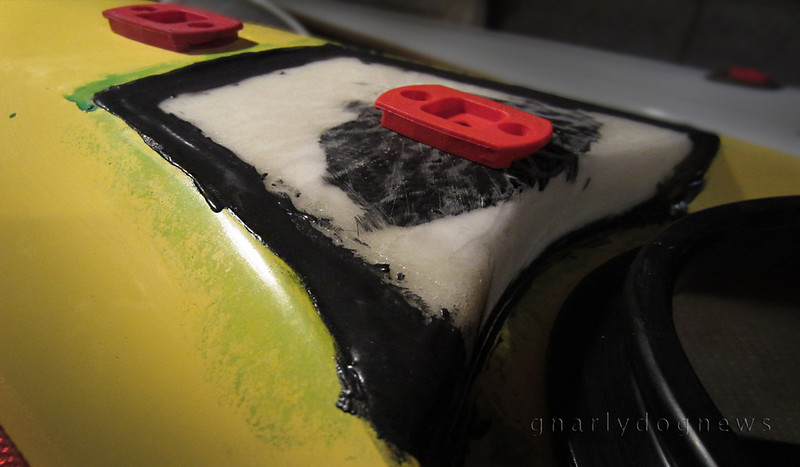
the new mast-base fitting placed only for testing
The last step was to add a nice layer of carbon fibre weave: partly structural, partly looks.
A few coats of UV stabilized epoxy later and my block was ready for installation of the mast base.
I used wood screws that secured the mount very solidly: the epoxy glue is very dense.
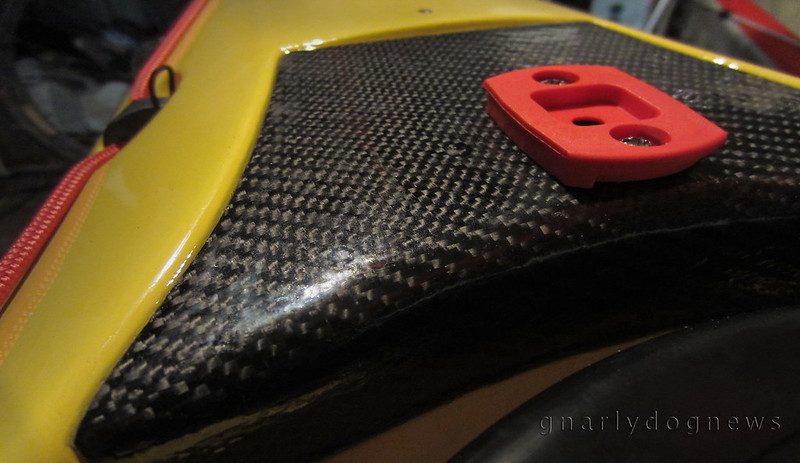
the foam block now covered with carbon fibre cloth
Final step: securing the foam block to the deck.
This one was simple: a small bead of polyurethane all around the edge (only!) to then seal perfectly against the deck.
The original deck void was now sealed and the sail mounted closer to the cockpit.
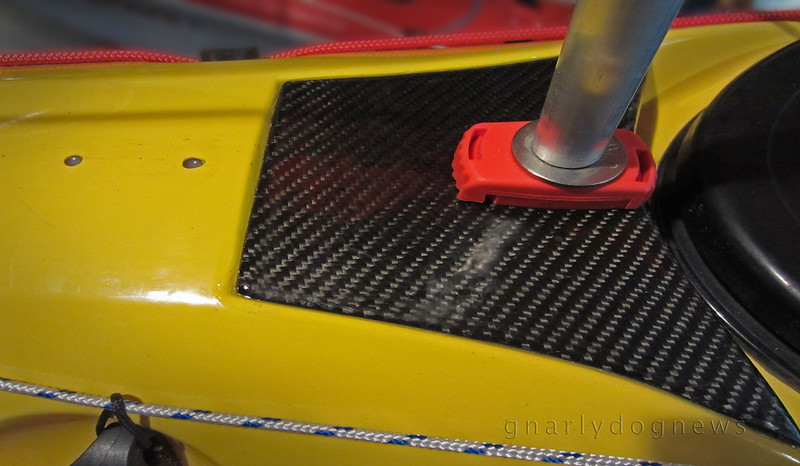
notice the difference between old position and new closer location for the mast base. The old holes will get filled with matching gel coat
So, do 4" make a difference? *
Not in handling of the kayak but when reaching for the sail to be bundled on deck when stowed (reaching for the boom particularly) is now much better.
*Hell yes, she said :-)
Mounting a sail on a sea kayak requires a few considerations: position and deck strength.
On the newly acquired Whisky16 the front hatch is positioned surprisingly way far forward.
In front of that there is a deck-mounted compass recess.
The previous owner of that kayak had a small sail mounted there and I used the existing holes to mount mine.
first run with the Whisky16
A test run revealed that the sail worked well on the Whisky16 but the reach was a bit too far for grabbing the sail and stow it on deck, securing it.
Most other sailing buddies use a 3 stay set up ending with a rather long mast.
I see their stowed sails going past the front of the cockpit ending with a sail mast half way across the spray deck. I prefer to have mine clear off my deck so I do not rub it with my hands when paddling.
The Whisky16 however has the sail mounting spot just a bit too far out or reach for the sail to fit nicely on deck. As I use my sails on several kayak I need to have them fit all decks well, with the same stay lengths.
I could increase the size of the mast and bring the sail higher (and make an ill-fit on other kayaks), but I prefer to keep the sail as low as possible and minimize the heeling force of a beam wind exerted on the sail.
The compass was not really needed on that kayak so I removed it and decided to utilize that space to mount the sail closer.
I wanted to fill the void left (recess on the deck) and create a solid base for the mast fitting.
I could have used a simple block of wood somehow attached to the deck but I knew I could do better.
I shaped a block of foam (polystyrene) to fit a bit loose within the cavity of the recess. Shaping the foam was easy: a bit of coarse sandpaper on a cork block.
Once the foam was shaped I placed kitchen cling wrap (Glad® wrap) over the deck and wetted out some fiberglass with epoxy. I draped the block of foam (under side) and pressed it into the cavity.
Once cured (overnight) I removed the excess and trimmed the glass.
The finish was really rough; maybe I could have used wax and mold release to have a perfect fit but nobody was going to see that part.
The top was done similarly.
I carved out foam from the area where the screws for the fitting would go for my mast base and filled it with epoxy glue (mix of epoxy and microfiber). While wet I then used a few layers of glass for the top and a scrap of carbon fibre for where the main load would be.
Polystyrene foam compresses easily when spot loaded so I needed a sturdy surface.
the "black patch" is carbon fibre cloth over the carved-out foam filled with epoxy glue.
The next step was to clean and cut back the edges a bit leaving a bit of a gap between foam block and kayak deck. I filled that with epoxy glue again to create a hard edge and seal the two surface together creating a monocoque style item. Of course I waxed and prepped the kayak deck so epoxy would not stick to it...
the new mast-base fitting placed only for testing
The last step was to add a nice layer of carbon fibre weave: partly structural, partly looks.
A few coats of UV stabilized epoxy later and my block was ready for installation of the mast base.
I used wood screws that secured the mount very solidly: the epoxy glue is very dense.
the foam block now covered with carbon fibre cloth
Final step: securing the foam block to the deck.
This one was simple: a small bead of polyurethane all around the edge (only!) to then seal perfectly against the deck.
The original deck void was now sealed and the sail mounted closer to the cockpit.
notice the difference between old position and new closer location for the mast base. The old holes will get filled with matching gel coat
So, do 4" make a difference? *
Not in handling of the kayak but when reaching for the sail to be bundled on deck when stowed (reaching for the boom particularly) is now much better.
*Hell yes, she said :-)
Subscribe to:
Posts (Atom)


